Welcome to WUXI YINGWANG ABRASIVE CO.LTD
How do you measure a sanding belt?
How to Measure a Sanding Belt: A Step-by-Step Guide
When it comes to selecting or replacing a sanding belt, measuring the right size is crucial to ensure a proper fit for your machine. Sanding belts are sold in various sizes, and knowing how to measure the correct dimensions will help avoid issues like slippage, uneven sanding, or belt damage. Here's how to measure a sanding belt to ensure you get the perfect fit for your project.
Steps to Measure a Sanding Belt
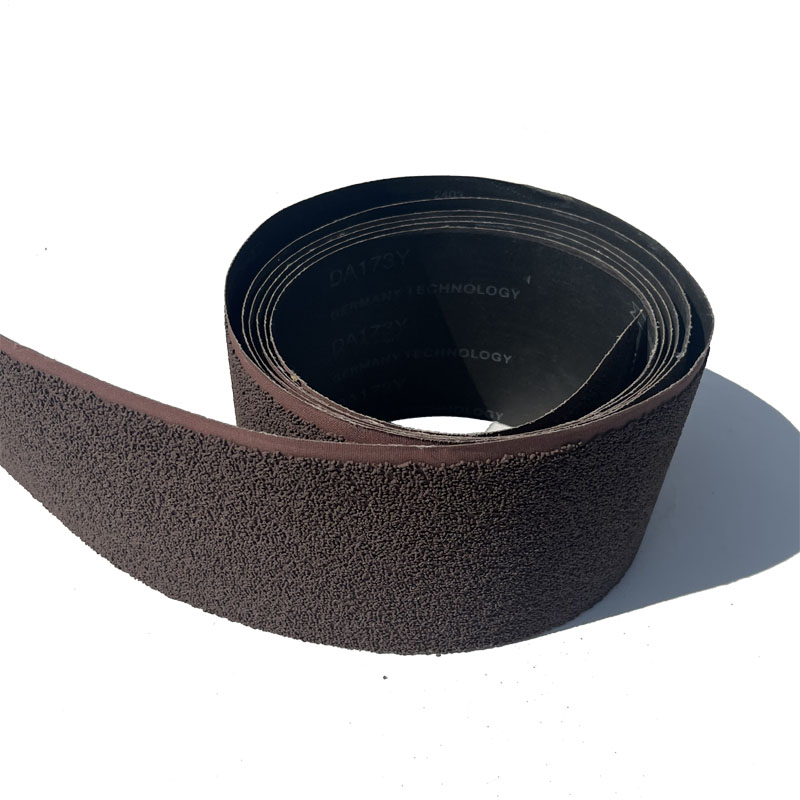
Measure the Length:
The length of the sanding belt is the circumference of the loop that fits around the sanding machine’s drums or rollers.To measure the length, use a tape measure or a ruler and measure from one end of the belt to the other while keeping it flat. For accuracy, make sure it’s fully stretched out without any bends or creases.
Sanding belts are usually measured in inches (e.g., 2" x 72", 3" x 21"). To determine the correct length, check the specifications of your machine or the manufacturer’s guidelines.
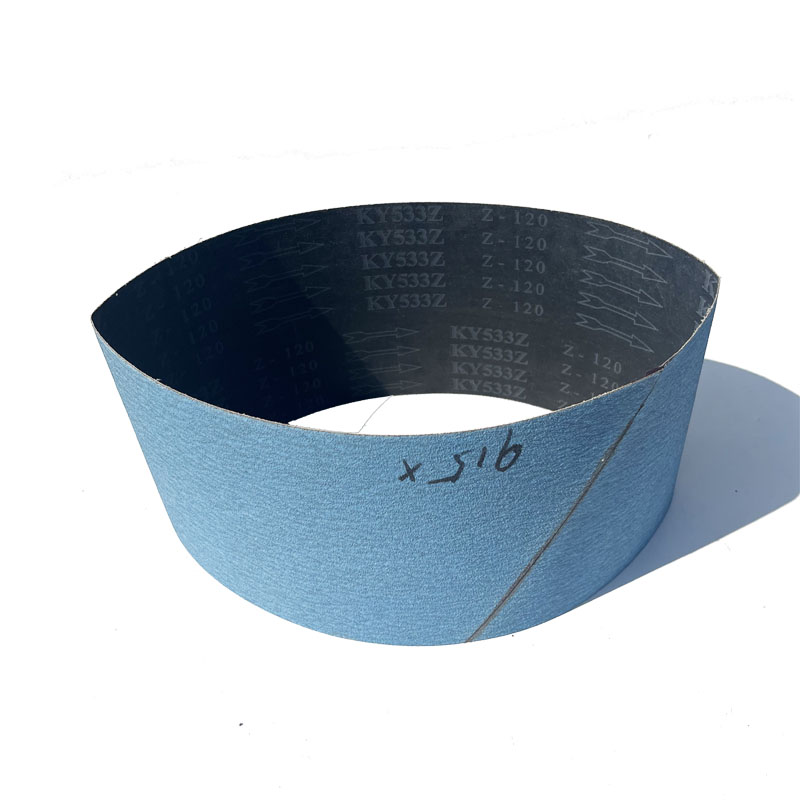
Measure the Width:
The width of the sanding belt is the measurement across the belt, from one side to the other.To measure the width, simply use a ruler or measuring tape and measure from one edge of the belt to the opposite edge.
Standard widths include 1", 2", 3", 4", and so on, but custom widths are available for specific machines.
Check the Thickness:
The thickness of the sanding belt affects its durability and flexibility.To measure the thickness, use a caliper or a micrometer for more precise measurements.
While this measurement is typically consistent for a specific belt type, knowing the thickness helps you match it to your machine's capabilities. Common thicknesses range from 0.5mm to 3mm.
Check the Belt’s Joint:
The joint refers to how the belt is connected at the ends to form a loop.Butt joints and overlap joints are the most common, and the choice depends on the machine’s requirements.
Make sure to check the type of joint when measuring and ordering replacement belts.
Verify the Grit Size:
While not part of the physical measurement, the grit size indicates how coarse or fine the abrasive is.Coarser grits (e.g., P40 to P60) are used for aggressive material removal, while finer grits (e.g., P180 to P2000) are for finishing and polishing. Make sure the grit size fits your intended use.
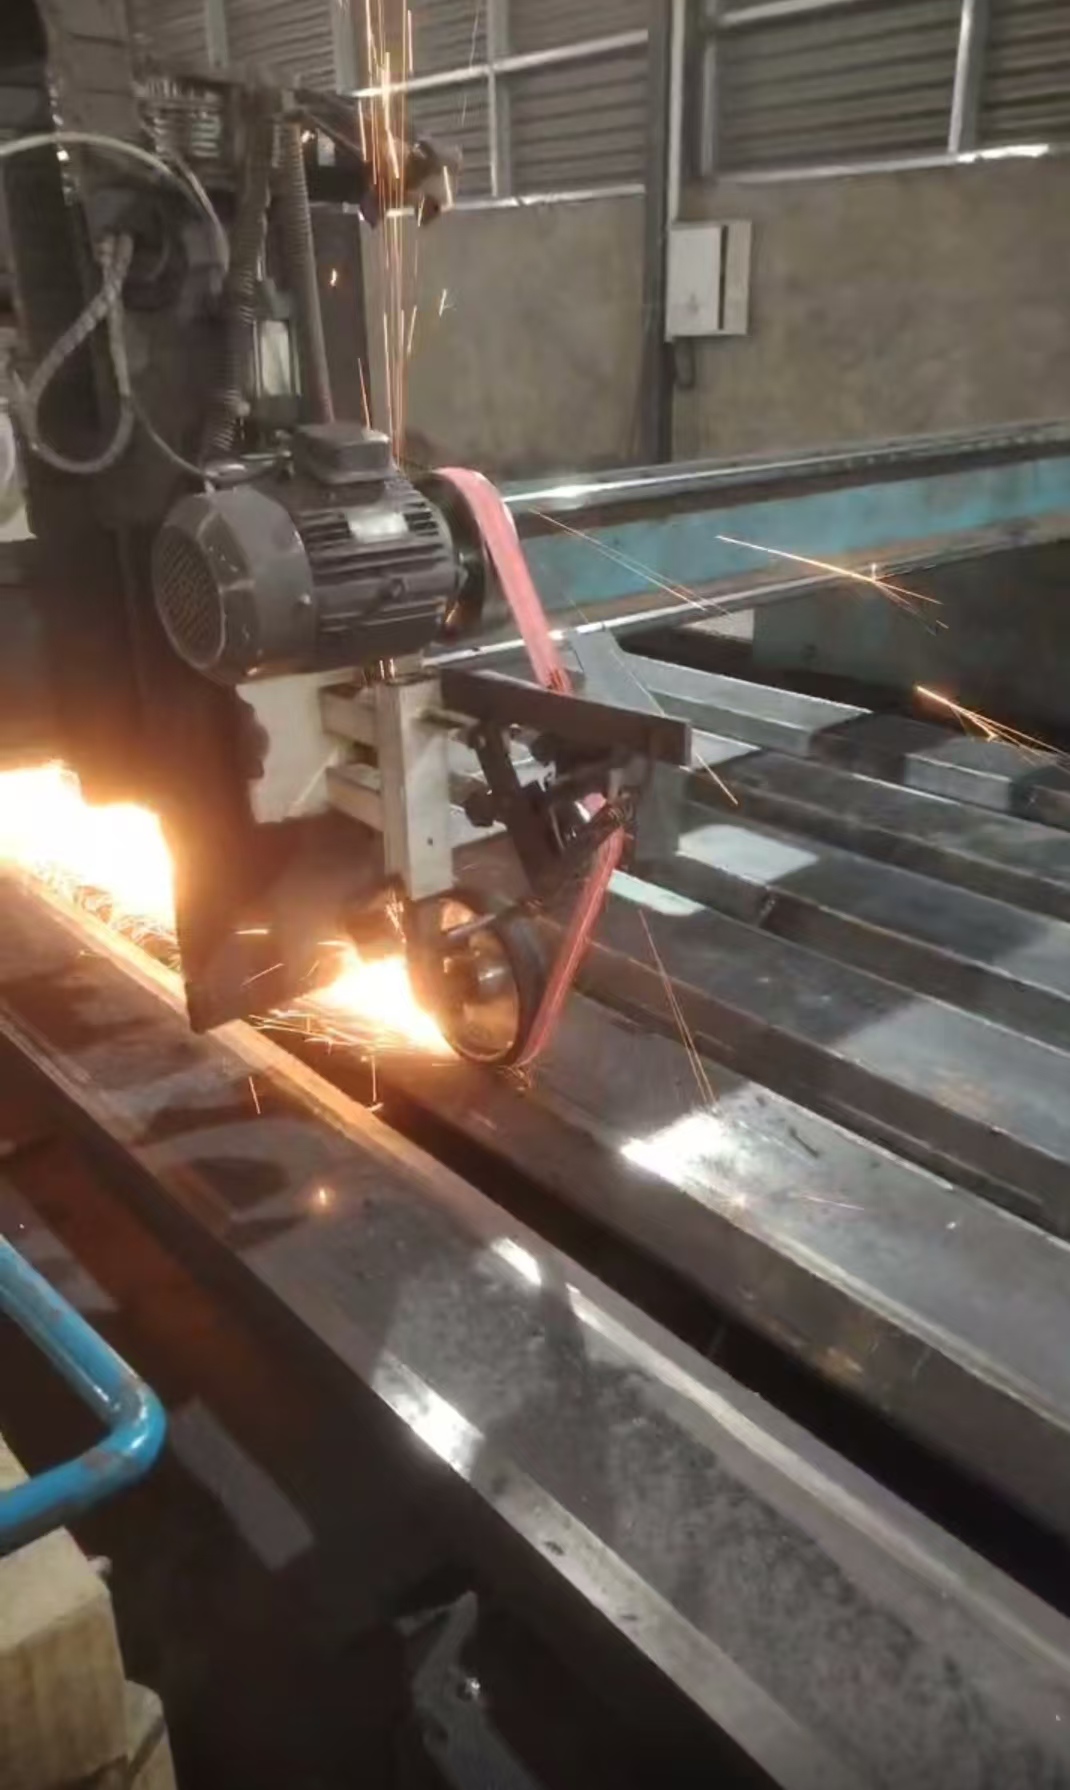
Why Proper Measurement is Important
Ensuring that you have the right measurements for your sanding belt is crucial for:
Optimal performance: A properly sized belt will fit snugly and provide consistent, even sanding.
Avoiding damage: An incorrect size can cause slippage, overstretching, or wear on the machine.
Efficiency: The right belt size helps you work faster and more efficiently, reducing downtime for adjustments or replacements.
Conclusion
Knowing how to measure a sanding belt accurately is essential for achieving the best results in your sanding tasks. By carefully measuring the length, width, and thickness of your sanding belt, you can ensure it fits perfectly with your sanding machine, leading to smoother, more efficient sanding operations.